
What to Know Before Restoring Your Wood Handrails
Your handrail is the most-touched piece of woodwork in your home. Every trip up the stairs leaves behind hand oils, grit, and friction, and over the years that wears through even a good finish. The upside is that a worn rail is rarely a lost cause. Restoring wood handrails usually costs far less than replacing them, and it keeps original craftsmanship that newer stock parts can’t match. So here’s what’s important when restoring your wood handrails
This guide shares what we tell homeowners before any work begins. When restoration makes sense, how to do it yourself, which materials hold up, and when it’s time to bring in a specialist.
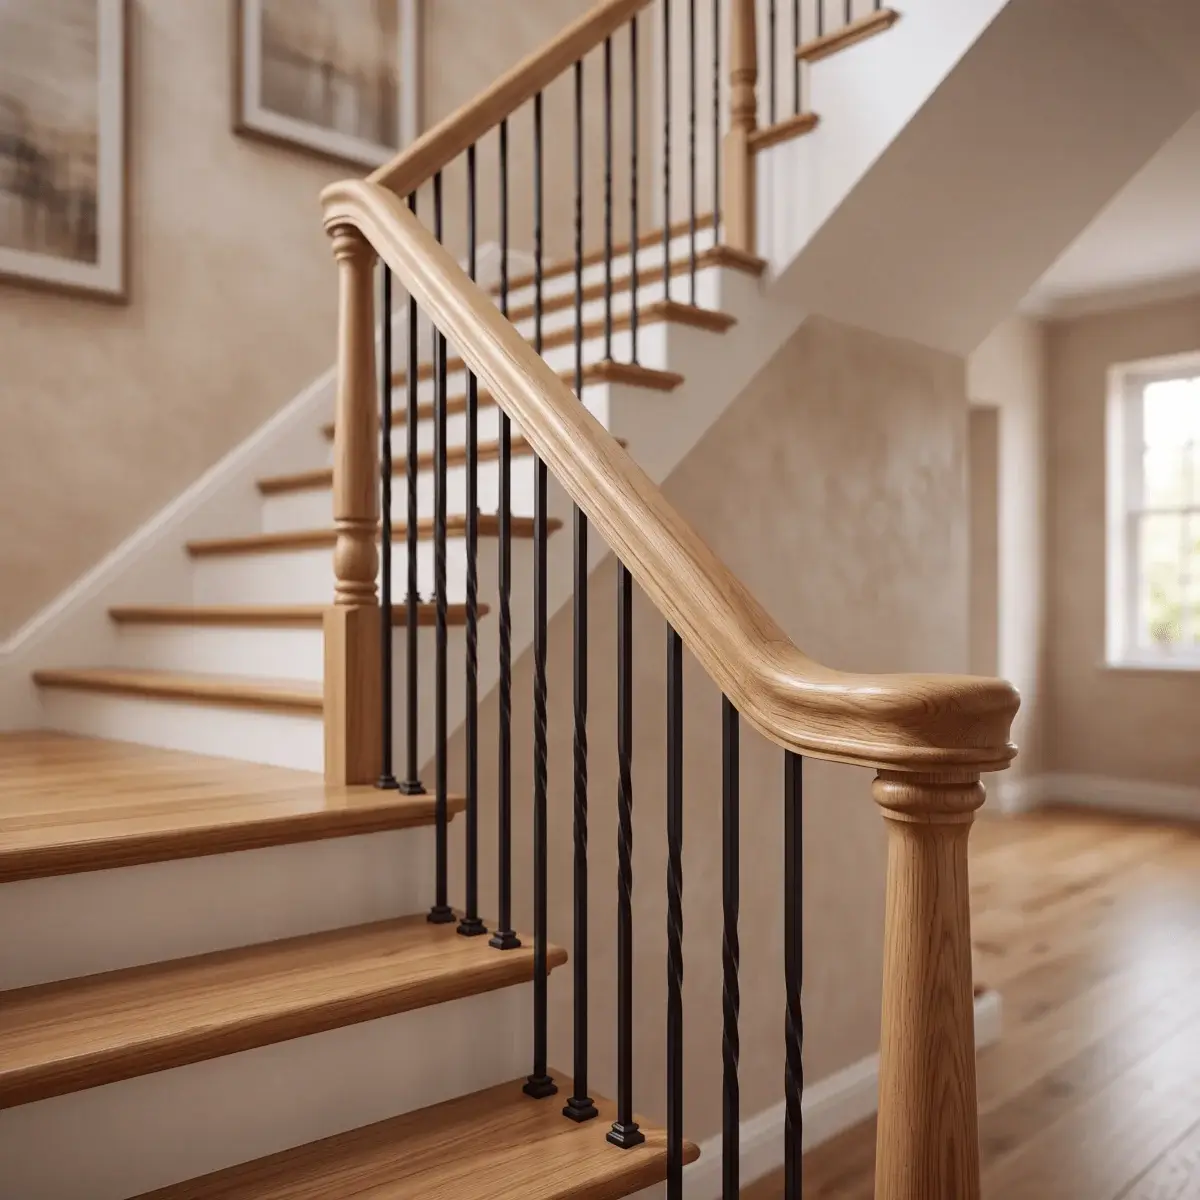
6 signs it's time to restore your wood handrail
Most handrails tell you they need attention long before they become a safety issue. Run your hand along the full length of the rail and look for these signs.
- The finish feels sticky or rough. Years of hand oils break down the topcoat, leaving a tacky or gritty surface.
- The wood looks dark or gray where hands rest. Worn spots near the top and bottom of the stairs mean the finish is gone and the wood is absorbing dirt.
- You see cracks, dents, or splits. Small damage spreads if left alone, especially near joints and fittings.
- The rail or balusters wobble. Loose fittings are a safety problem first and a cosmetic one second.
- The color no longer matches your floors or trim. Golden oak from the 1990s often clashes with updated flooring.
- Layers of old paint hide the wood. In older St. Louis homes, we often find solid walnut or mahogany under decades of paint.
If you notice any of these, restoration is likely the right next step. If the rail moves under your weight, fix the structure before you think about the finish.
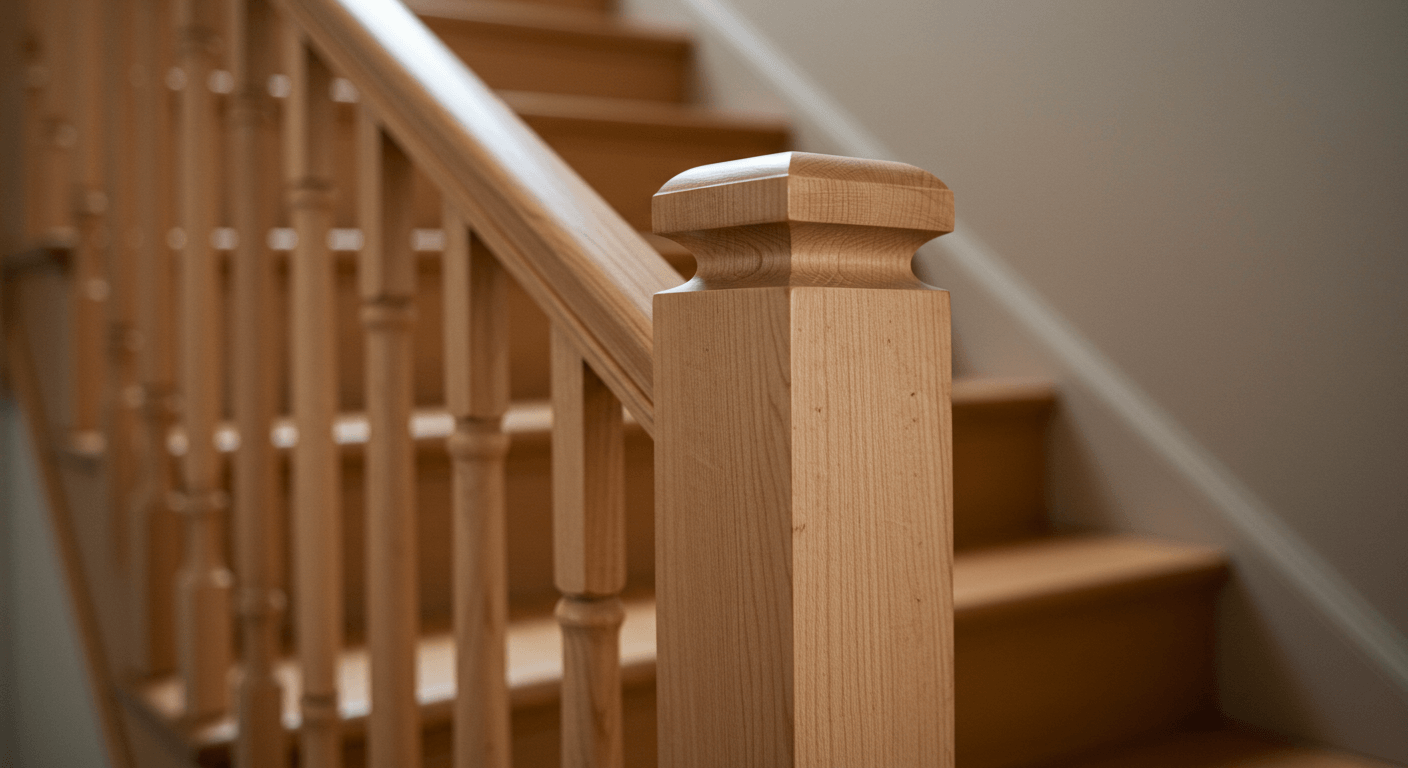
When to restore, repair, or replace handrails?
The right choice depends on the condition of the wood, not just how it looks. A tired finish on sound wood calls for restoration. Rot, deep splits, or a rail that no longer meets code may call for repair or replacement.
| Condition | Best option | What it involves |
|---|---|---|
|
Worn, dull, or sticky finish on solid wood
|
Restore | Clean, strip or scuff-sand, refinish, and seal |
|
Small dents, scratches, or loose fittings
|
Repair, then restore | Fill or patch, re-glue or re-fasten joints, refinish |
|
Cracked or broken section, sound remainder
|
Repair with matched wood | Splice in a new piece matched to species, grain, and profile |
|
Rot, insect damage, or many failed joints
|
Replace | New rail milled to match the original profile, or a new design |
|
Rail too low or too thick to grip
|
Replace or modify | Bring height and grip size up to current code |
Replacing a hand-shaped rail with a stock part rarely looks right. If a section must go, have it milled to match the original profile.
One caution for older homes: replacing a hand-shaped rail with a stock part from a big-box store almost never looks right. If a section must go, have it milled to match the original profile.
Is your handrail worn, loose, or sticky?
We’ll bring it back to solid, beautiful wood that lasts for years.
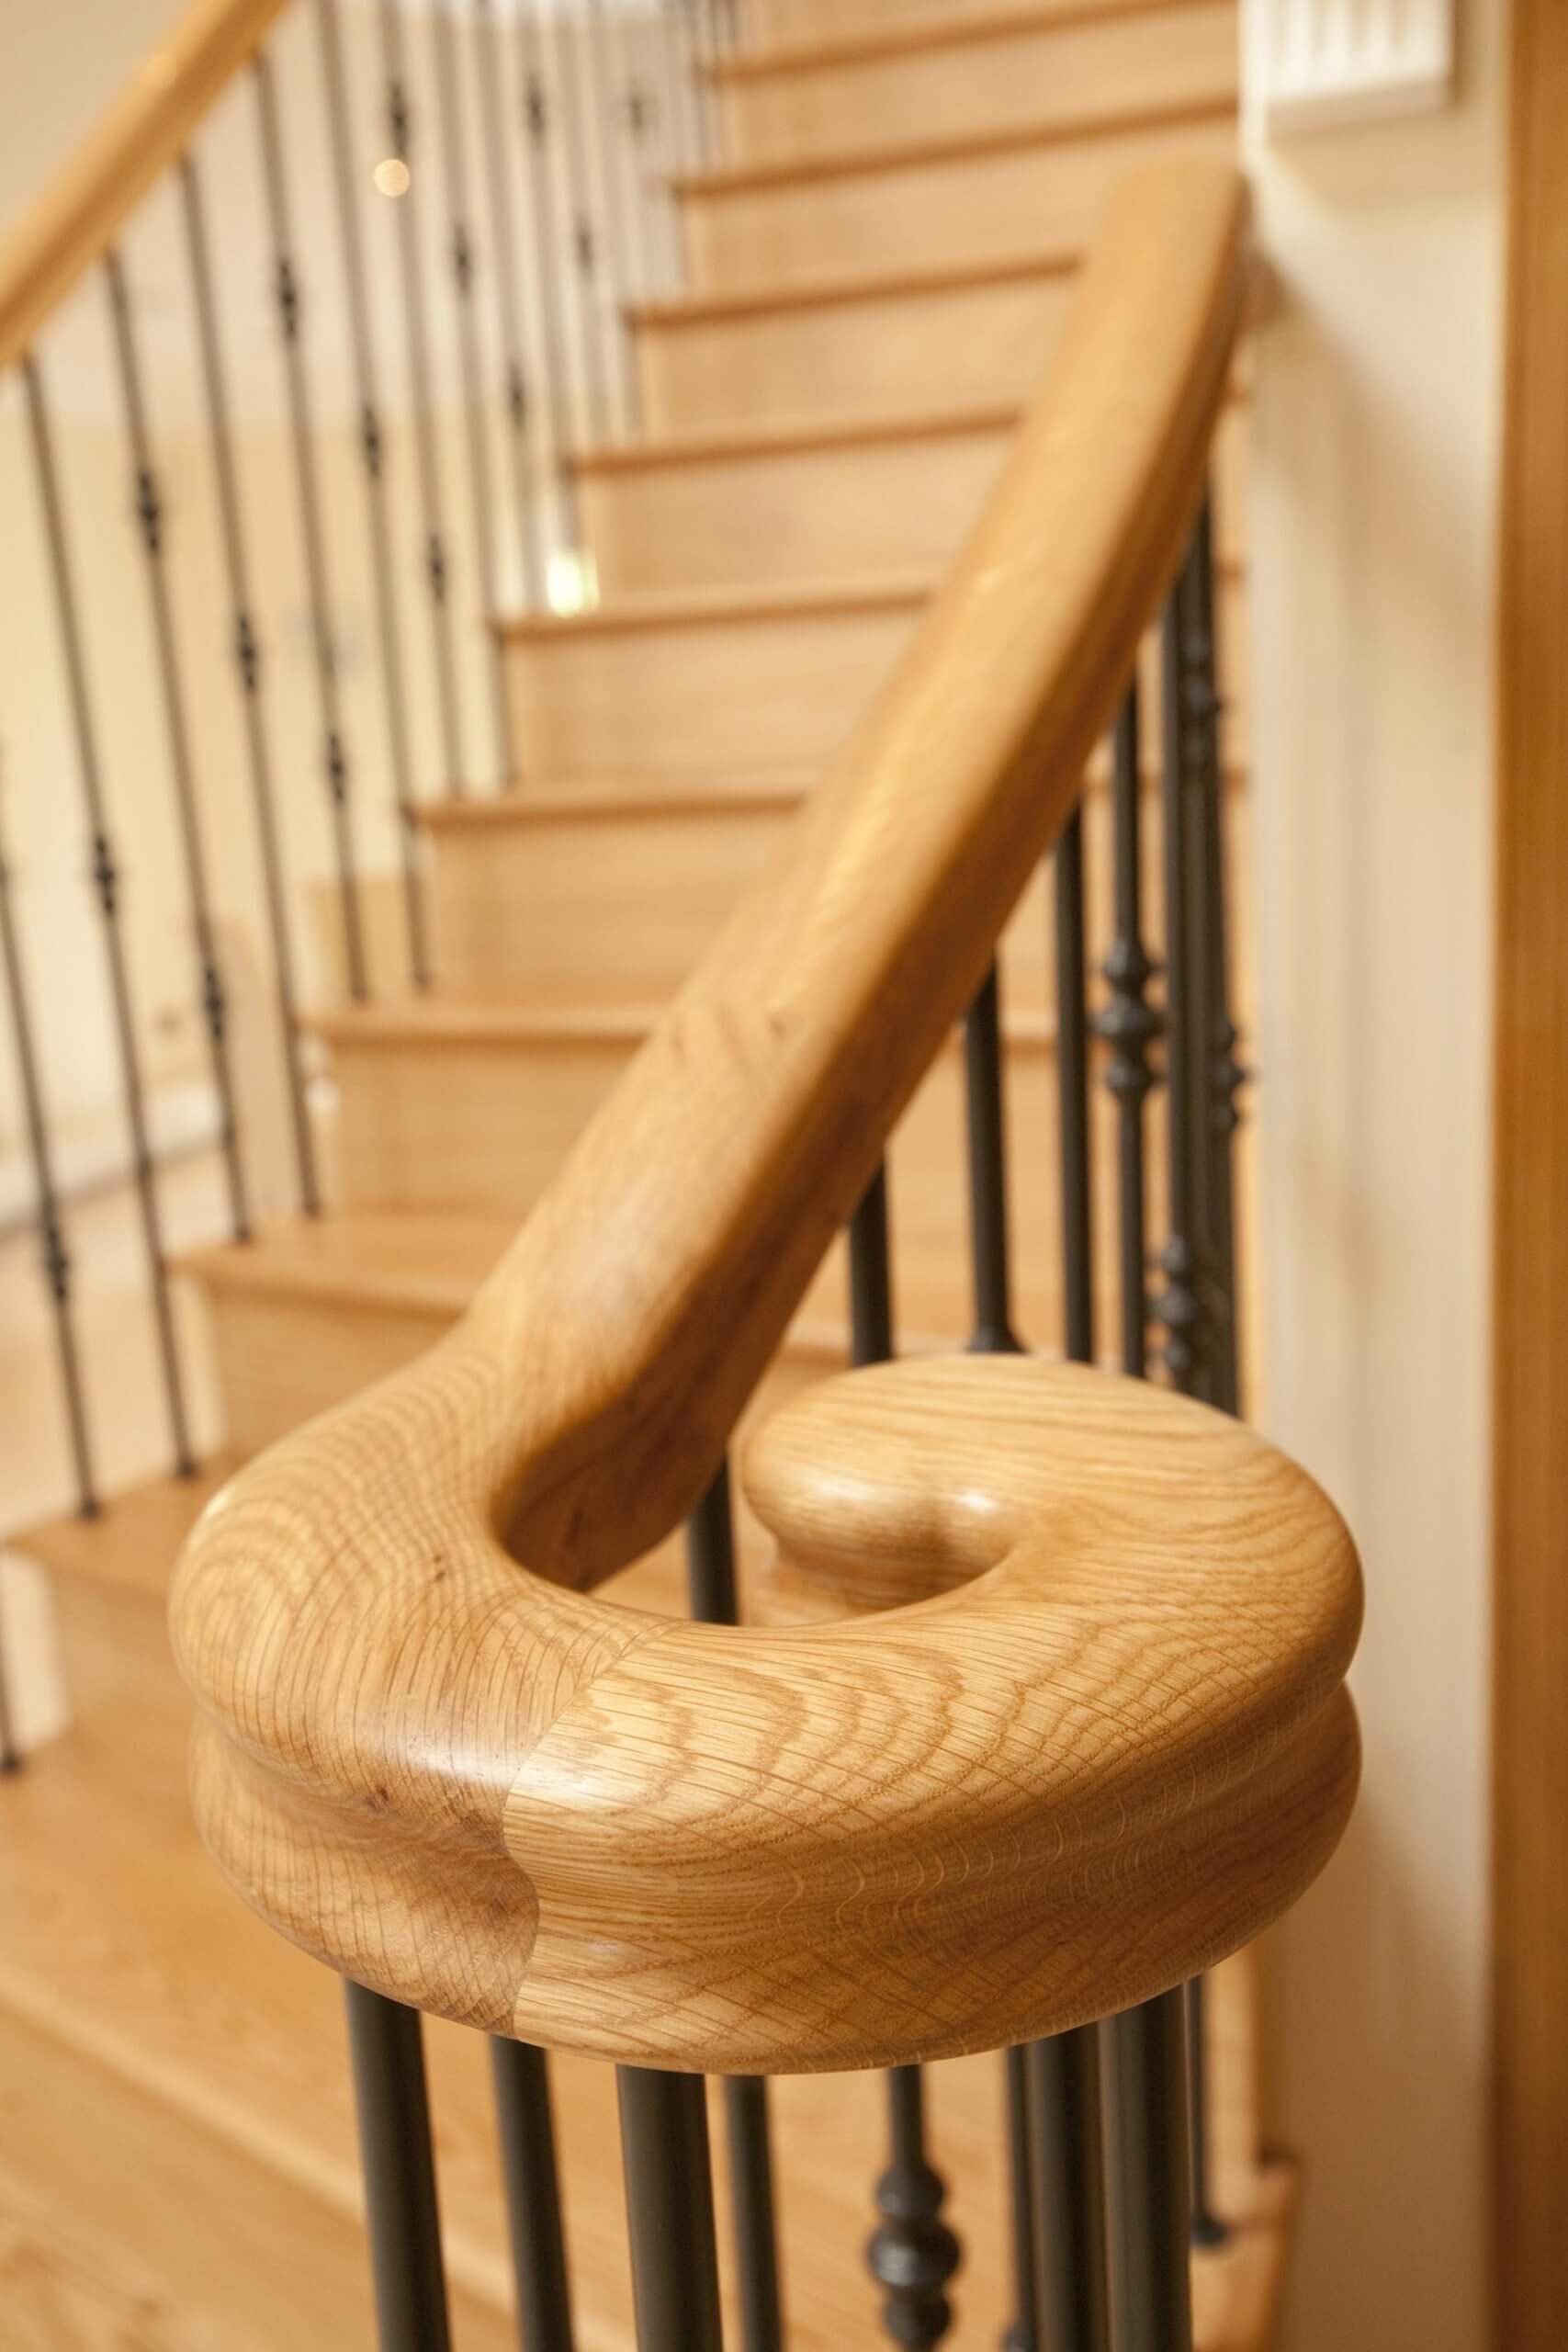
Choosing the right materials for handrail restoration
The finish you choose matters more on a handrail than on almost any other surface in your home. It has to handle daily contact without turning sticky, chipping, or wearing through.
Strippers, fillers, and abrasives
- Stripper: A citrus-based or low-odor gel stripper is the safer choice indoors. It works slower than harsh solvents but clings to vertical and curved surfaces.
- Scrapers and pads: Use plastic scrapers on the rail and fine synthetic pads in the profile details. Metal scrapers gouge softwoods and older oak quickly.
- Wood filler: Use a stainable filler for small dents. For larger damage, a wood patch or Dutchman repair blends far better than filler.
- Sandpaper: Work from 120 to 180 grit for bare wood, and 220 to 320 grit between finish coats.
Finish comparison
| Finish | Durability on a handrail | Look | Dry time between coats | Best for |
|---|---|---|---|---|
|
Oil-based polyurethane
|
Very high | Warm, slight amber tone | About 8 hours | Busy staircases, oak and walnut |
|
Water-based polyurethane
|
High | Clear, stays light | About 2 to 3 hours | Maple, white oak, light finishes |
|
Stain plus polyurethane
|
High (from the topcoat) | Changes color, shows grain | Stain about 24 hours, then poly | Matching floors or trim |
|
Paint (satin or semi-gloss)
|
Moderate, chips with wear | Solid color, hides grain | Varies by product | Painted trim and modern contrast |
|
Hardwax oil
|
Moderate, easy to touch up | Natural, low sheen | Varies by product | Historic and hand-shaped rails |
For most handrails, we recommend a satin sheen and two to three topcoats.
For most rails, we recommend a satin sheen. It hides fingerprints and small wear marks better than gloss and won’t feel slick under your hand. Plan on two to three topcoats for a rail that gets daily use.
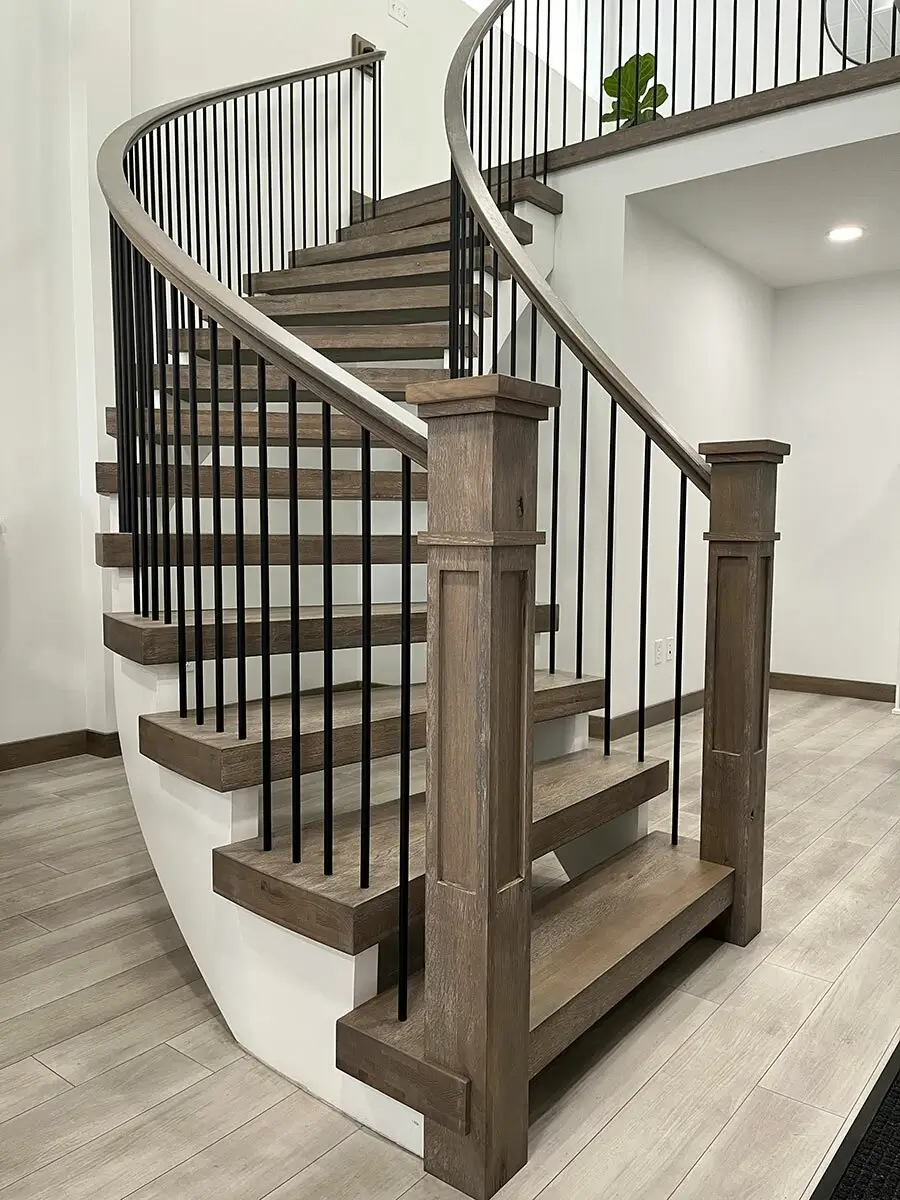
How to restore a wood handrail yourself
A straight, solid rail is a reasonable weekend project for a careful DIYer. Plan on two to three days so each coat can dry fully.
- Check the structure. Tighten loose fittings and re-glue wobbly balusters before you touch the finish.
- Test for lead. If your home was built before 1978, test painted or old finishes with an EPA-recognized lead test kit before sanding or stripping.
- Protect the area. Lay drop cloths and tape off walls, balusters, and treads. Open windows for ventilation.
- Decide how deep to go. If the finish is only dull, clean it and scuff-sand with 220 grit. If it’s peeling, sticky, or the wrong color, strip it to bare wood.
- Strip and clean. Brush on stripper, wait for the time on the label, and test a small spot. Scrape along the grain, then wipe away residue with mineral spirits.
- Repair and sand. Fill dents, let filler cure, and sand smooth. Wipe all dust with a tack cloth.
- Test your stain. Try it on the underside of the rail first. Different woods take stain differently, and old oak often turns darker than expected.
- Apply stain in sections. Wipe on, wait, and wipe off at the same pace for each section so the color stays even.
- Seal it. Brush on thin coats of polyurethane, sanding lightly between each. Let the final coat cure for several days before heavy use.
Our tip: Work the underside of the rail first and the top last. Drips that run down are easy to catch, and the surface people see stays clean.
Common mistakes and when to call a specialist
The mistakes we fix most often come from rushing or using the wrong tool:
- Power sanding curves and fittings. An orbital sander flattens carved profiles and volutes in seconds, and that detail can’t be sanded back.
- Skipping the stain test. Blotchy color on oak, cherry, or pine is hard to correct once it soaks in.
- Using high-gloss on a rail. Gloss shows every smudge and can feel slippery.
- Ignoring loose joints. A new finish on a wobbly rail only hides a safety problem.
Call a specialist when the work goes beyond the finish. That includes curved or spiral rails, carved newel posts, missing or broken pieces that need matching, historic woodwork you want to preserve, and rails that may not meet code. Most St. Louis-area building departments follow the International Residential Code, which generally calls for a handrail height of 34 to 38 inches. Check with your local building department before you change the height or shape of a rail.
How we restore handrails in St. Louis
St. Louis has some of the finest historic woodwork in the Midwest, from Victorian staircases in Lafayette Square to Craftsman homes in Webster Groves and Kirkwood. Our job is to bring that woodwork back without erasing what makes it original.
Every handrail restoration follows the same process:
- On-site assessment. We identify the wood species, the existing finish, any lead paint, and the condition of every joint and fitting.
- Structural repair. We tighten, re-glue, and reinforce the rail, newel posts, and balusters so the system is solid.
- Matched repairs. Damaged sections are rebuilt in our shop, milled to match the original species, grain, and profile.
- Careful finish removal. We hand-strip and hand-sand carved profiles and fittings to protect the detail.
- Color matching. We test stains on your actual wood until the rail matches your floors, trim, or original finish.
- Durable topcoat and final check. We apply a finish built for daily contact and inspect the full length of the rail before we leave.
We serve homeowners, architects, builders, and churches throughout St. Louis City and St. Louis County, including Clayton, Ladue, Kirkwood, Webster Groves, University City, Chesterfield, Town and Country, and Wildwood, as well as St. Charles County.
FAQs: Wood handrail refinishing
How often should a wood handrail be refinished?
A polyurethane finish on a busy staircase usually lasts 7 to 10 years. Painted rails often need touch-ups sooner. Refinish when the rail feels sticky or rough, or when bare wood shows through.
Can I restore my handrail without removing it?
Yes. Most rails can be restored in place with careful taping and drop cloths. Wall-mounted rails are often easier to finish if you unscrew them first.
What is the best finish for a wood handrail?
Oil-based polyurethane in a satin sheen is the most durable choice for most homes. Water-based polyurethane is a good option if you want to keep light woods from yellowing.
Can I paint over a stained handrail?
Yes. Clean it, sand it lightly, and use a bonding primer before two coats of satin or semi-gloss paint. Without primer, paint tends to peel on a handrail.
How long does handrail restoration take?
A simple refinish takes two to three days to allow for drying between coats. Rails that need repairs or matched parts take longer, depending on the shop work involved.
Do you restore handrails in historic St. Louis homes?
Yes. We specialize in restoring and matching original woodwork in historic homes and churches across St. Louis, so repairs blend with the original craftsmanship.
Contact Our Team!